
In this blog post, we will integrate Google Maps to our React Native App with react-native-maps library.
First, we initialise new React Native project with command below:
npx react-native init MyMapAppPlease take note that in this blog post, we are using React Native version 0.63
After we initialise our new project, we will need to change directory to our new project folder with command below:
cd MyMapAppThen, import react-native-maps library to our project with command below:
npm install react-native-maps --save-exactBuild on iOS
Let us configure for iOS part first. Run command below to link react-native-maps.
npx react-native link react-native-mapsRun pod install to download and install react-native-maps dependencies.
cd iOS && pod install && cd ..Since, we are going to use Google maps, there is few more steps to enable Google maps in iOS app
- Edit ios/MyMapApp/AppDelegate.m
- Add following these 2 lines of code (starting with “+”) to AppDelegate.m file correspondingly. Replace your API key accordingly. Follow this guide to generate API key.
+ #import <GoogleMaps/GoogleMaps.h> //add this line

@implementation AppDelegate
...

- (BOOL)application:(UIApplication *)application didFinishLaunchingWithOptions:(NSDictionary *)launchOptions
{
   // add this line
+  [GMSServices provideAPIKey:@"_YOUR_API_KEY_"];
...
3. Edit ios/Podfile to add these lines below
  # React Native Maps dependencies
  rn_maps_path = '../node_modules/react-native-maps'
  pod 'react-native-google-maps', :path => rn_maps_path
  pod 'GoogleMaps'
  pod 'Google-Maps-iOS-Utils'
4. Run command below to pod install Google Maps dependencies
cd ios && pod install && cd ..If you have reach here, installation for react-native-maps on iOS is completed. Let’s import react-native-maps to our project to show map in our App.
Edit App.js at root directory and replace whole file with code below:
import React from "react";
import {
  SafeAreaView,
  View,
} from "react-native";
import MapView, { PROVIDER_GOOGLE } from "react-native-maps"


const App = () => {

  const initialRegion ={
    latitude: 37.78825,
    longitude: -122.4324,
    latitudeDelta: 0.0922,
    longitudeDelta: 0.0421,
  }

  return(
    <View style={{ flex: 1, backgroundColor: 'red' }}>
      <MapView
        style={{ flex: 1}}
        provider={PROVIDER_GOOGLE}
        initialRegion={initialRegion}

      />
    </View>
  )
}

export default App;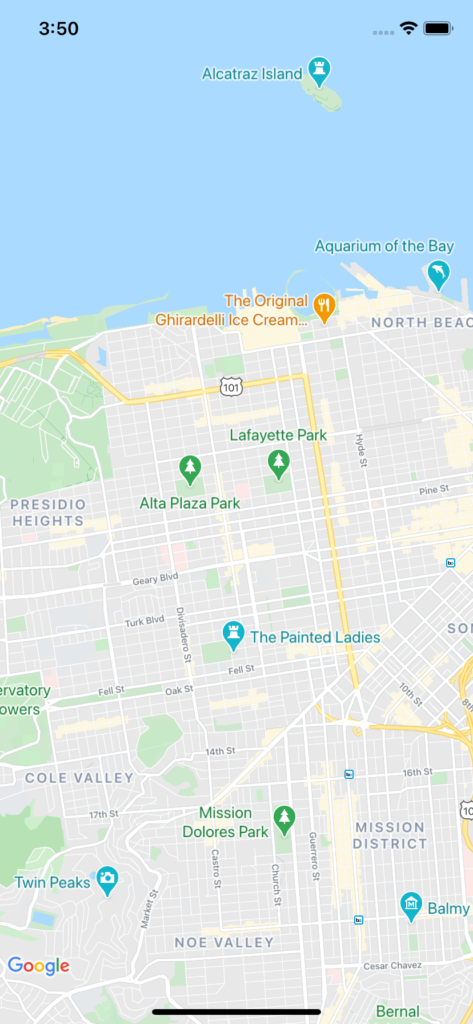
Build on Android
- Edit android/build.gradle add these 2 lines below:
buildscript {
    ext {
        buildToolsVersion = "29.0.2"
        minSdkVersion = 16
        compileSdkVersion = 29
        targetSdkVersion = 29
        // add this 2 lines
        playServicesVersion = "17.0.0"
        androidMapsUtilsVersion = "2.1.0"
        // end this 2 lines
    }
    ...
}
2. Edit android/app/build.gradle and add following lines correspondingly
dependencies {
    ...

    // start add this
    implementation(project(':react-native-maps')){
        exclude group: 'com.google.android.gms', module: 'play-services-base'
        exclude group: 'com.google.android.gms', module: 'play-services-maps'
    }
    implementation 'com.google.android.gms:play-services-base:17.5.0'
    implementation 'com.google.android.gms:play-services-maps:17.0.0'
    // end add this
}
3. Edit android/app/src/main/AndroidManifest.xml. You need to specify your own Google Maps API key here. Follow this guide to generate API key if you does not have it.
<application>
   <!-- You will only need to add this meta-data tag, but make sure it's a child of application -->
   <meta-data
     android:name="com.google.android.geo.API_KEY"
     android:value="Your Google maps API Key Here"/>

   <!-- You will also only need to add this uses-library tag -->
   <uses-library android:name="org.apache.http.legacy" android:required="false"/>
</application>
4. Open Android Studio, open existing project and select “android” folder of MyMapApp project. Android studio will auto sync all requires dependencies.
5. Once gradle build successful. Run command below to start our project in Android emulator:
npx react-native run-android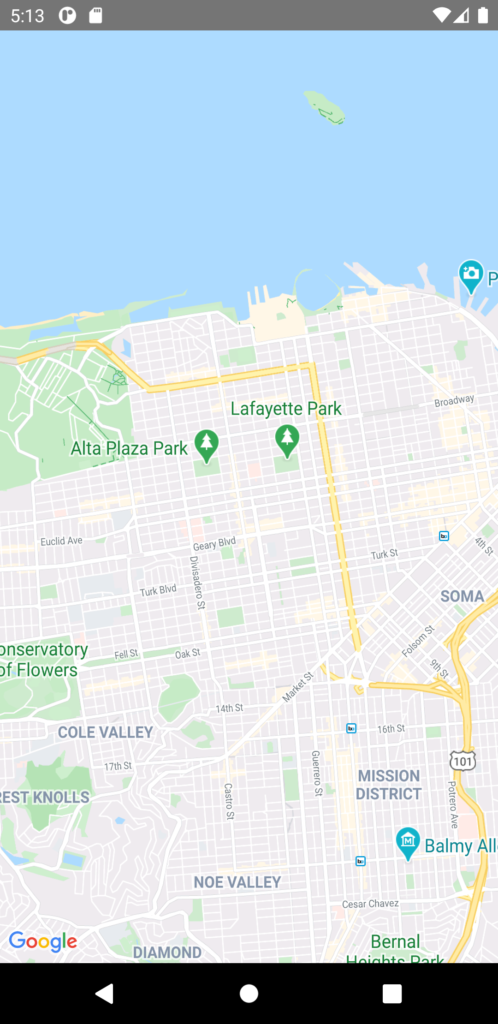
We hope this article helps you on how to configure Google Maps to React Native App successfully.
For further details, please refer to official installation guide.
Thanks for reading.
Happy Coding!